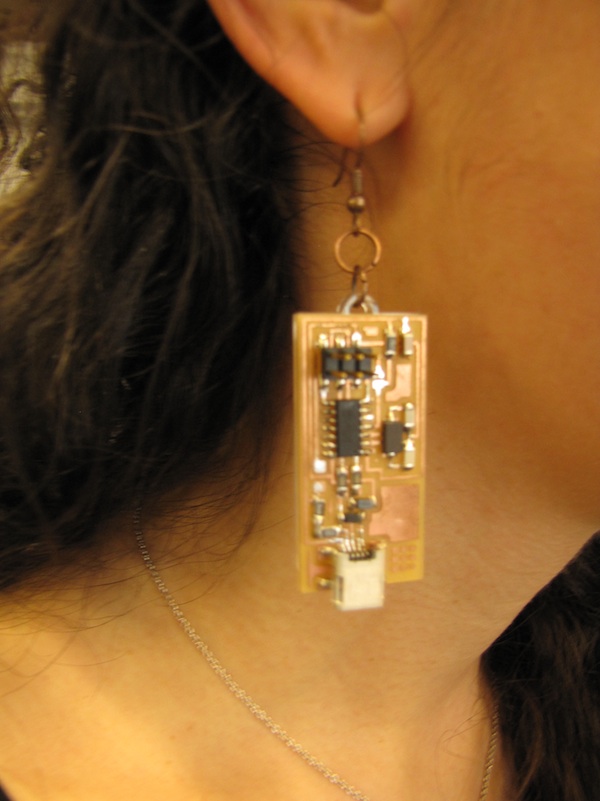
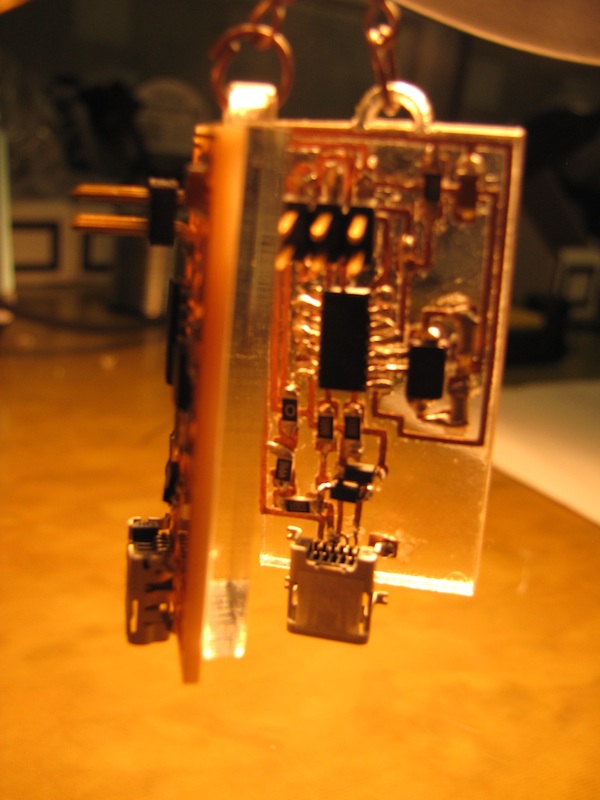
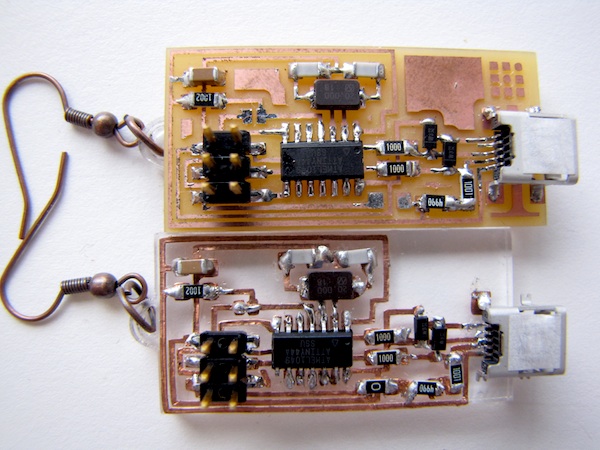
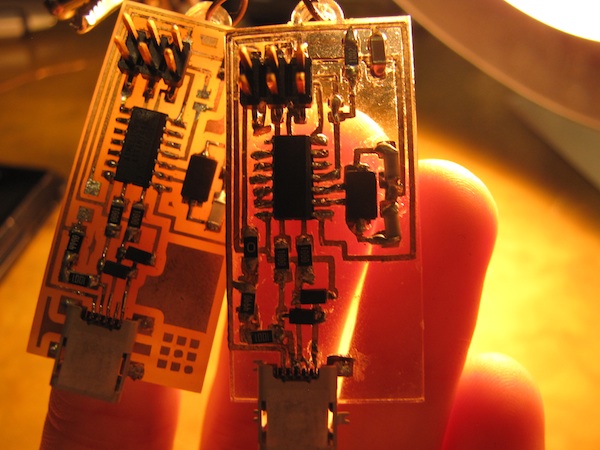
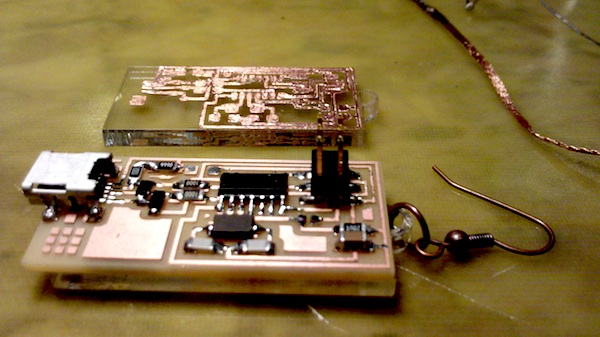
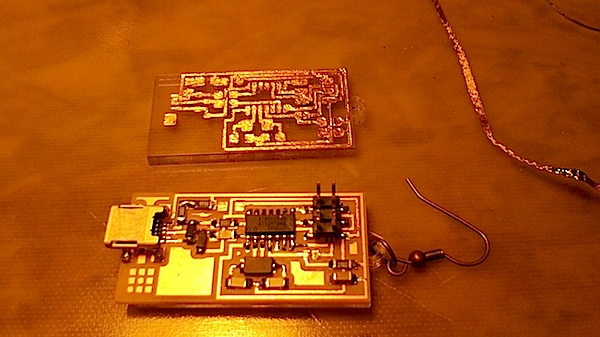
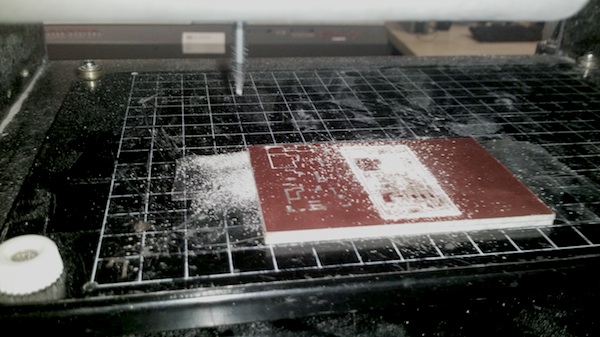
The FabISP was divided into three tasks which included milling/vinyl cutting a board(duration:2 minutes), soldering components(duration(2 hours), and finally programming(duration: 1 second). Milling involved two separate end mills, with a 1/64" mill to trace the interior(duration:10 minutes) and a 1/32" mill to cut out the board completely(duration:3 minutes).I chose to create two boards, as a set of earrings, one on a vinyl cutter and one milled on the modela. This was my first time using the vinyl cutter, and given some peoples preference to make circuits this way, I wanted to try it out and see what the advantages were compared to a milled board.
Milling/Cutting:
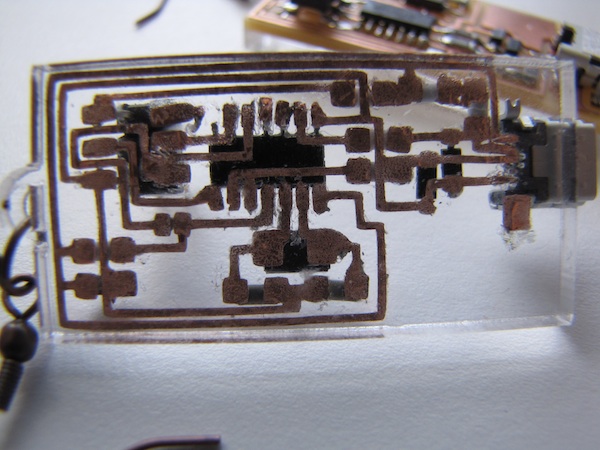
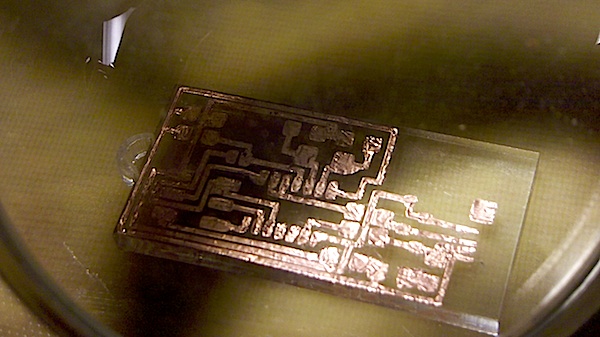
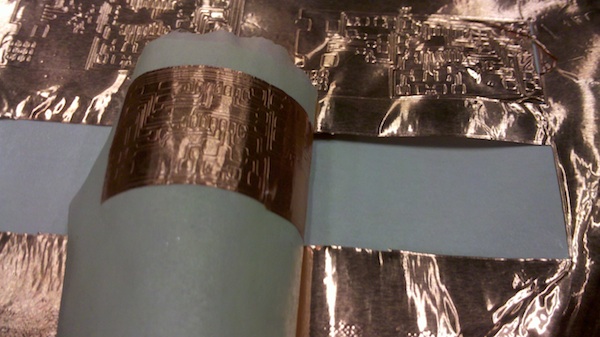
On the modela, the board took a lot longer to mill than a vinyl cut board. A vinyl cut board essentially uses a knife blade at the tip to cut materials such as paper, copper, vinyl etc. Anything you can cut with an exacto knife by hand, this machine can do a lot quicker and nicer. I milled a total of 6 boards on the modela until I got the settings right. The vinyl cutter took about half a day to debug. YES, I said it, HALF A DAY. It takes 2 minutes to cut, but between changing blades, changing force and speed setting, I found that even if you got a perfect cut the first time, this didn't mean that the second cut would come out exactly the same way. I also noticed that half of the copper cut was easy to peel and the other half was still uncut with slight traces seen. I tried cutting the copper into small sheets and tightening it on the vinyl cutter, but that didn't work. I placed the entire roll of copper behind the machine and fed it through one end to see of the sheet would fasten down tighter, and that too did not work. If there was a way to secure the sheet down to the table, then the cut would be a lot more even....this is a HARDWARE ISSUE. I cut about 30 boards, until I got two that I was able to peel.
THANKS TO JIE Q AND THANKS TO JOHN D for all the advice thus far. Now I placed tape on the copper, peeled the back side and placed the sticky side of the copper to a laser cut acryllic piece which would eventually become an earring. As you stick the copper on, make sure that when you peel the top side of the tape off, that you peel by shearing and rolling the tape parallel to the surface, so that you don't tear any part of the copper. Once this is complete, you have a copper sheet stuck to the acryllic piece. Before you do the next part, go outside and relax because the next 4 hours will have you sitting in a scrunched position, squinting your eyes, trying to peel .1 mm lines of copper traces.....and I will stop right here. Let me mention: PATIENCE...if you don't have it, forget about the vinyl cutter. The other issue is that once you have all the extraneous pieces weeded out, the final copper pieces barely stick to the acryllic. I found that it works better on wood or paper.
Soldering:
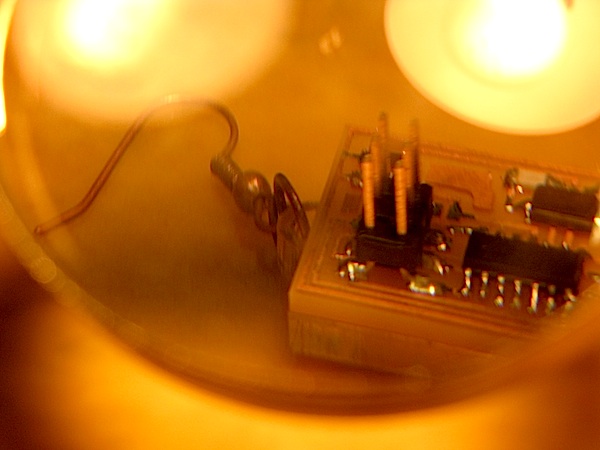
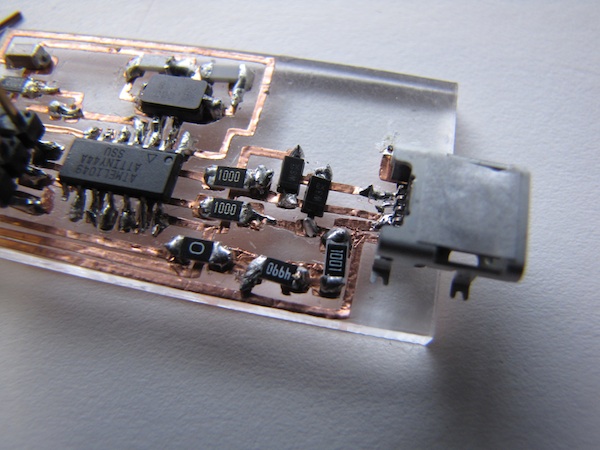
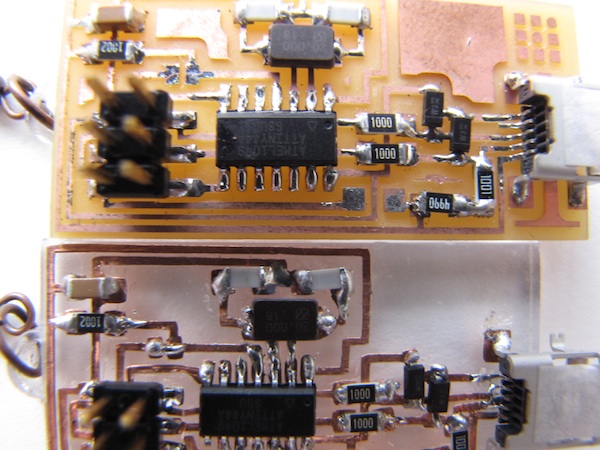
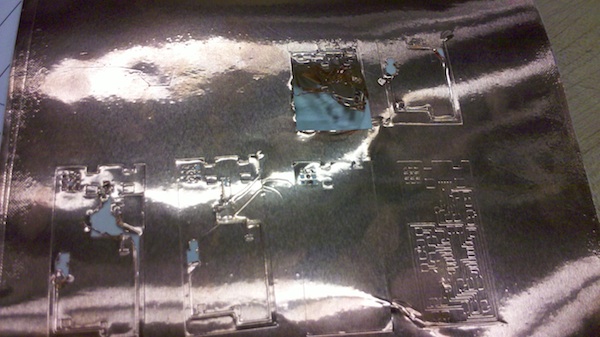
Soldering on the modela cut board was easier, and the board is definitely more robust than the vinyl cut board. Components that were soldered on included an Atiny 44 microcontroller, several cap and resistor sizes, a usb component etc. I have soldered before, so this task was fairly easy. NOT for the vinyl cut board. Talk about patience. NOW you need PATIENCE CUBED. The copper backing wants to come off when you try to solder and heat the area. The technique I was using included: placing solder on the tip of the iron first, applied a little flux to the sticker, and then placed the iron on the copper sticker. If you heat the area too much, then the copper will undoubtedly come off. Trial and error, some venting and frustration, and you will eventually know how long to place the iron on the sticker.Programming: Connected to computer and ran script. More to come.